
August 3, 2014
Walkthrough: The Last Door | Season 1 | Chapter 2: Memories
NOTES
- I've played the online version of the game in Firefox 31.0.
- Game link: https://thelastdoor.com/index.php/chapter/2
- The game is stable and I experienced no crashes / bugs.
- All activities involve only left-clicking.
- Progress is mostly linear. You CAN do some activities in a different order than I have noted.
- The + crosshairs change to a magnifying glass over hotspots.
- After observing, some objects can be collected when the cursor changes to a hand icon.
- The inventory is present at the bottom of the screen.
- Objects in the inventory can be combined with each other.
- To use an inventory object:
-- Left click to select it
-- Left click on a screen hotspot / another inventory object
-- The object gets an yellow outline where it can potentially be used
-- Wrong matches are indicated with a red X.
- Use the lens in the inventory to get descriptions of inventory objects.
- Inventory objects are removed after use.
- Double click exits to leave a scene instantly.
- Listen carefully to Devitt's comments for clues and hints.
- Click on dialogue boxes to proceed further.
- There is no hotspot revealer. Browse the screen for hotspots.
- Chapter 2 has conversations between Devitt and other characters.
- No conversation choice is fatal.
- Chapter 2 has only inventory-based puzzles.
- Special keys:
-- 1: To enable dyslexia-friendly font
-- 2: To enable sound descriptions (appears at the top of the screen)
-- 3: Fullscreen mode
- Progress is autosaved.
- Pressing the CROSS at the top right of the screen exits the game.
- Reloading the game gives options to resume from last autosave point, or start afresh.
- Closing the browser window is okay; game can be relaunched and reloaded as usual.
- Shutting down the PC will need the game to be loaded from scratch.
WALKTHROUGH
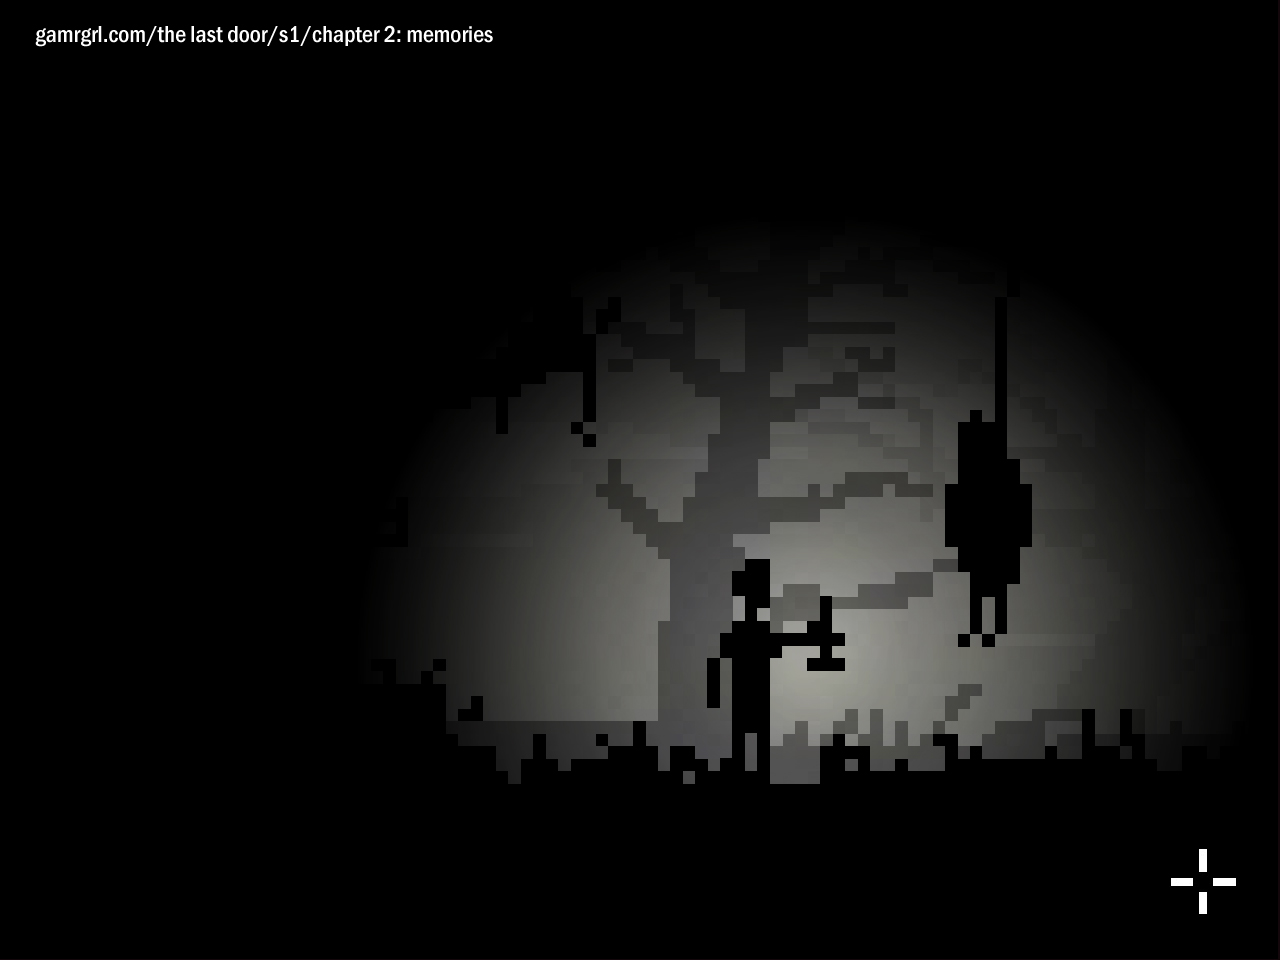
PROLOGUE: THE MONSIGNOR | Screenshot
Click the text screens to proceed through the prologue.
TOUCH the cabinet at the rear.
TOUCH the coat rack at rear right.
TOUCH the candles at the altar at the left.
TOUCH the altar (3 times).
CHAPTER 2: MEMORIES | LONDON, DECEMBER 1891 | Screenshot
KEEP WALKING till the hypnosis session ends.
CONVERSATION: It looked like an eye.
Devitt sets off for his school in Scotland. | Screenshot
THE SCHOOL | Screenshot
Chapter 2 is set entirely at the school.
MAIN OBJECTIVE: REMEMBER WHAT HAPPENED AT THE SCHOOL in 1876.
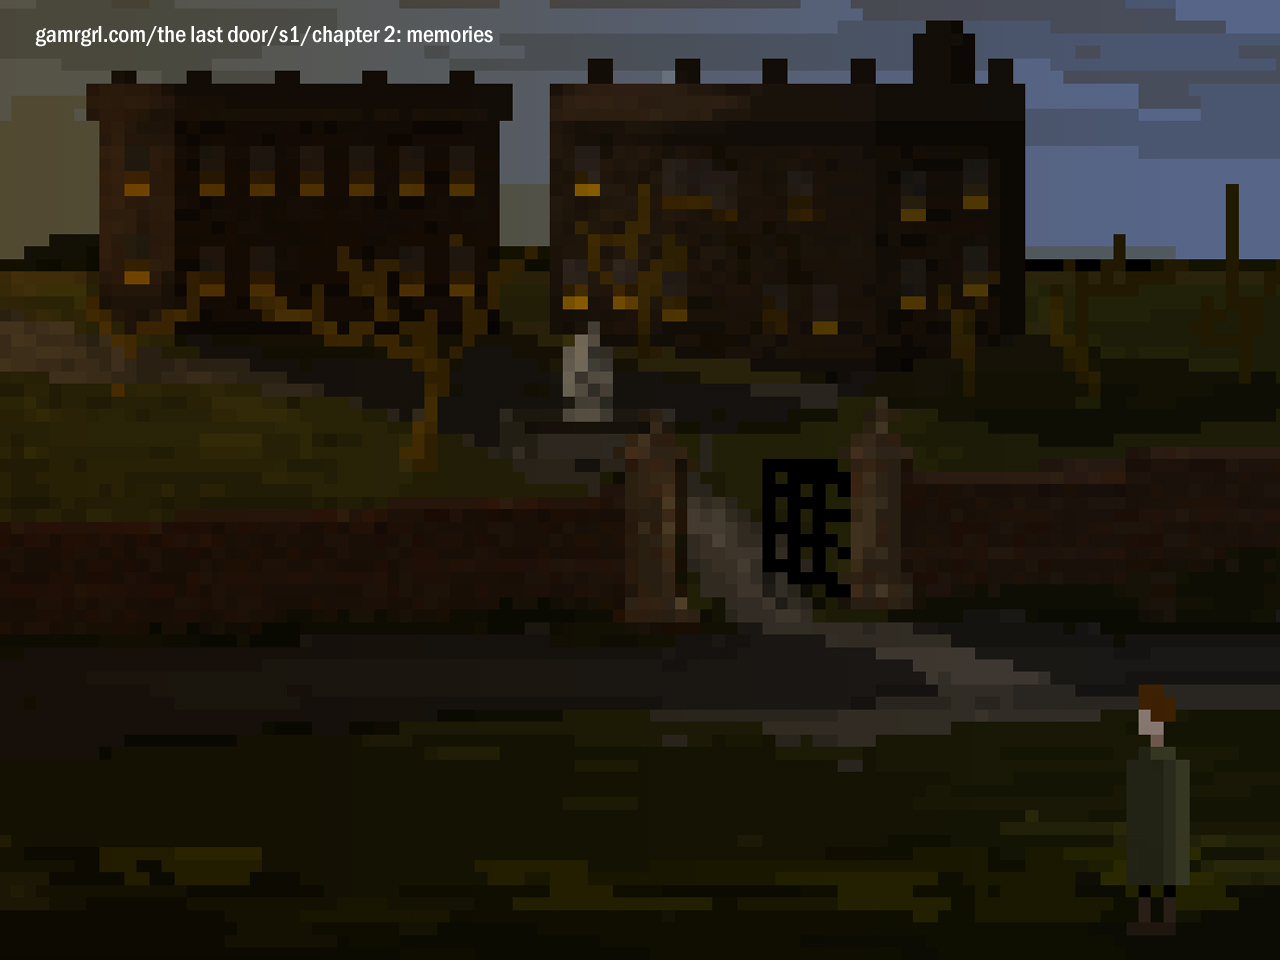
FRONT LAWN | Screenshot
LOOK at the mailbox. OPEN it.
TAKE the postcard. It's a letter from Juliette to Matthew.
WALK left.
TAKE the stone eagle from the ground left of the fountain.
WALK left, past the school building, to the cemetery.
CEMETERY | Screenshot
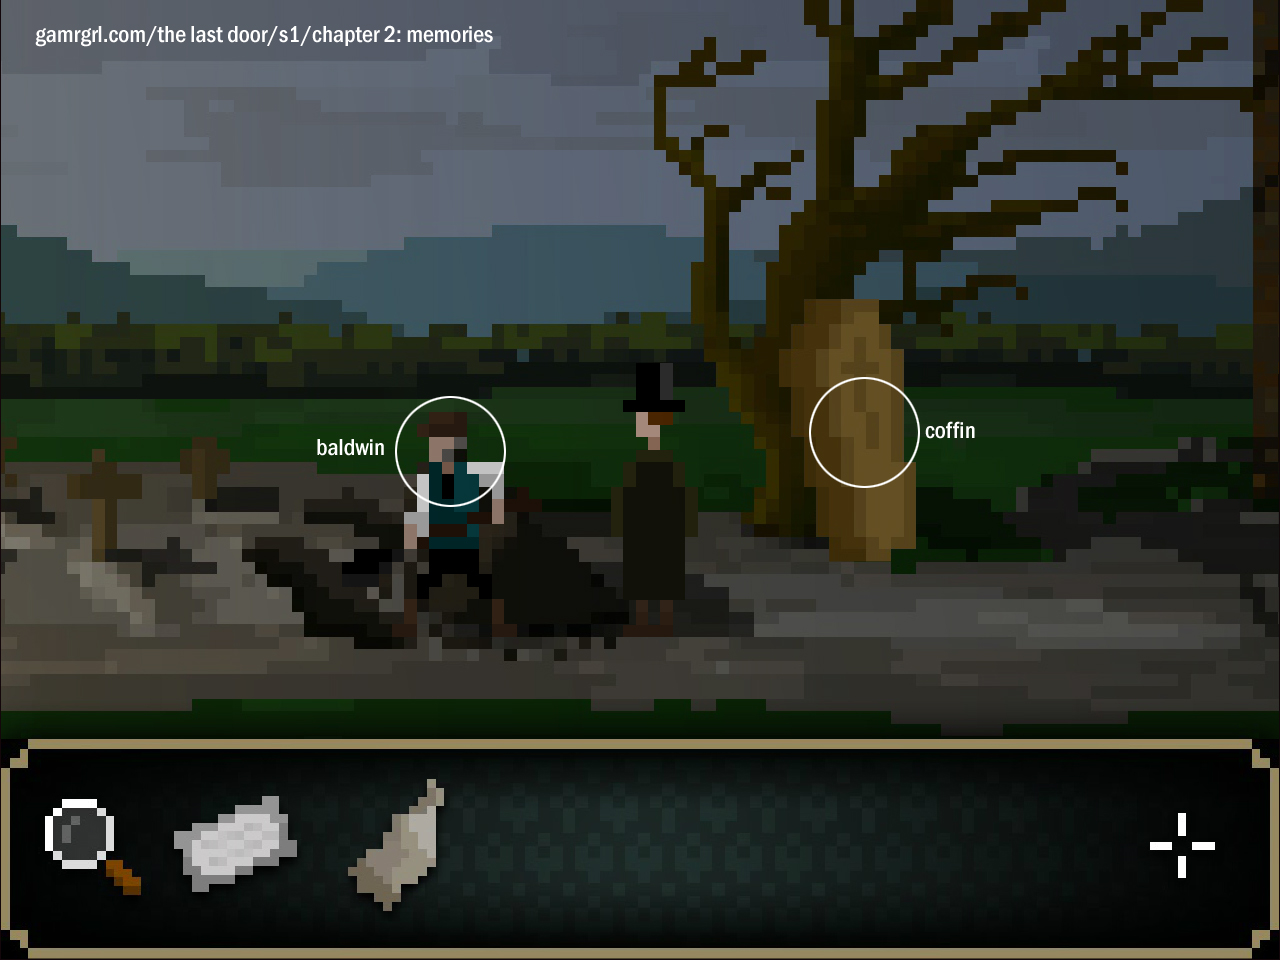
TALK to the gravedigger, Frank Baldwin.
The school is now a nursing home run by nuns.
WALK left, past the graves, to the beach.
BEACH | Screenshot
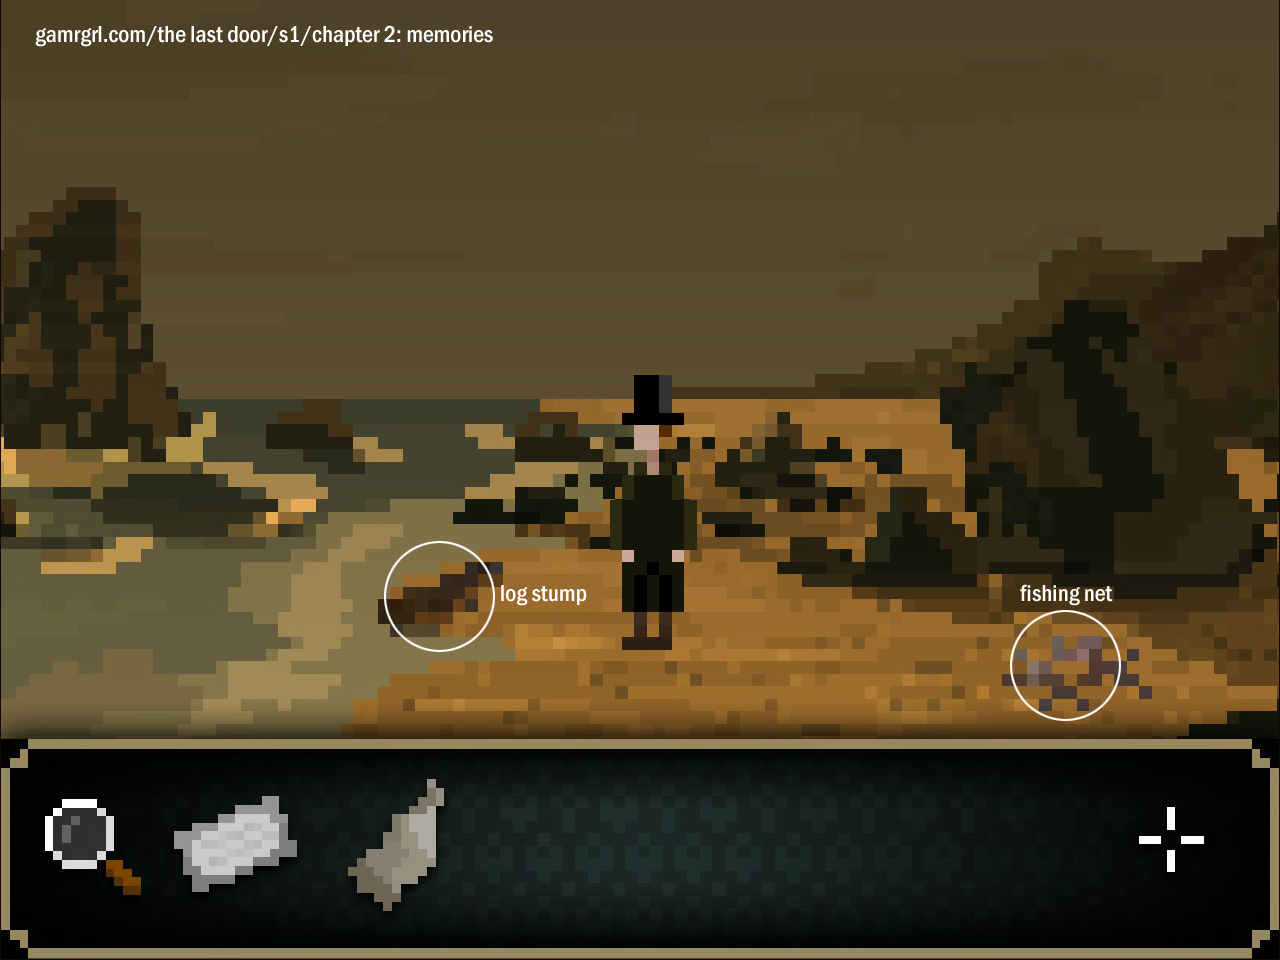
TAKE the fishing net from the sand.
TAKE the small log from near the water.
RETURN to the front of the school.
ENTER the school.
FOYER | Screenshot
TALK to Mother Elizabeth.
CONVERSATION: I prefer not to talk about it.
After the interlude, TALK to Mother Elizabeth again.
Cover all the available topics of conversation.
WALK left to the infirmary.
INFIRMARY | Screenshot
The left-most patient is Matthew.
TALK to Matthew and sister Mary.
LOOK at Mary's luggage - the blue suitcase.
TAKE the letters. Mary objects.
INVENTORY: Give Juliette's postcard to Matthew.
Mary intercepts the postcard and starts making her own story.
TAKE the letters from Mary's luggage.
INVENTORY: Give the letters to Matthew.
Matthew's lucky coin is added to the inventory.
WALK right to the right-most patient. | Screenshot
TALK to the nun.
NOTE the crucifixes above the headboard.
EXIT via the right door.
CLASSROOM | Screenshot
TAKE the music box from the cabinet.
READ the letter on the desk by the cabinet.
READ the quote on the blackboard on the left wall.
READ the dairy entries about Fr Earnest on the table by the blackboard.
The school closed in 1876.
LOOK at the class photo. One face is scratched out. | Screenshot
EXIT the classroom.
INFIRMARY
GO out the north door to the cemetery.
CEMETERY
TALK to Baldwin about the Monsignor.
RETURN to the foyer either via the infirmary or the front door.
WALK upstairs via the staircase.
HALLWAY | Screenshot
NOTE the long tapestry where the boys' dormitory was.
Devitt needs to cut the tapestry.
OPEN the door at extreme right. ENTER.
SHOWERS | Screenshot
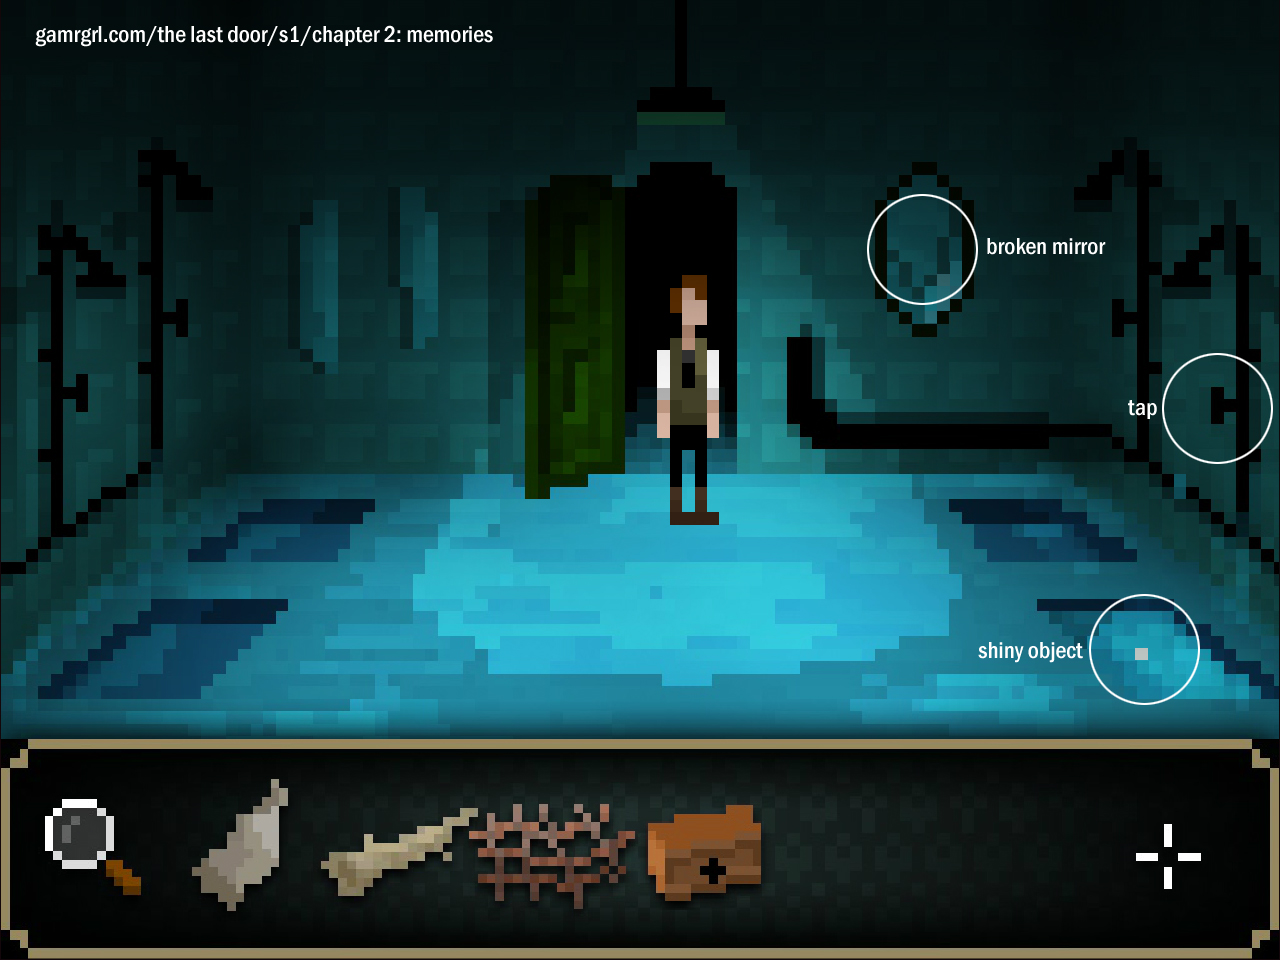
NOTE the shiny object under the grating at front right.
Devitt needs to retrieve the object.
LOOK at the mirror.
TAKE the broken piece of mirror.
EXIT to the hallway. WALK left to the door between the tapestries. ENTER.
THE NUNS' ROOM | Screenshot
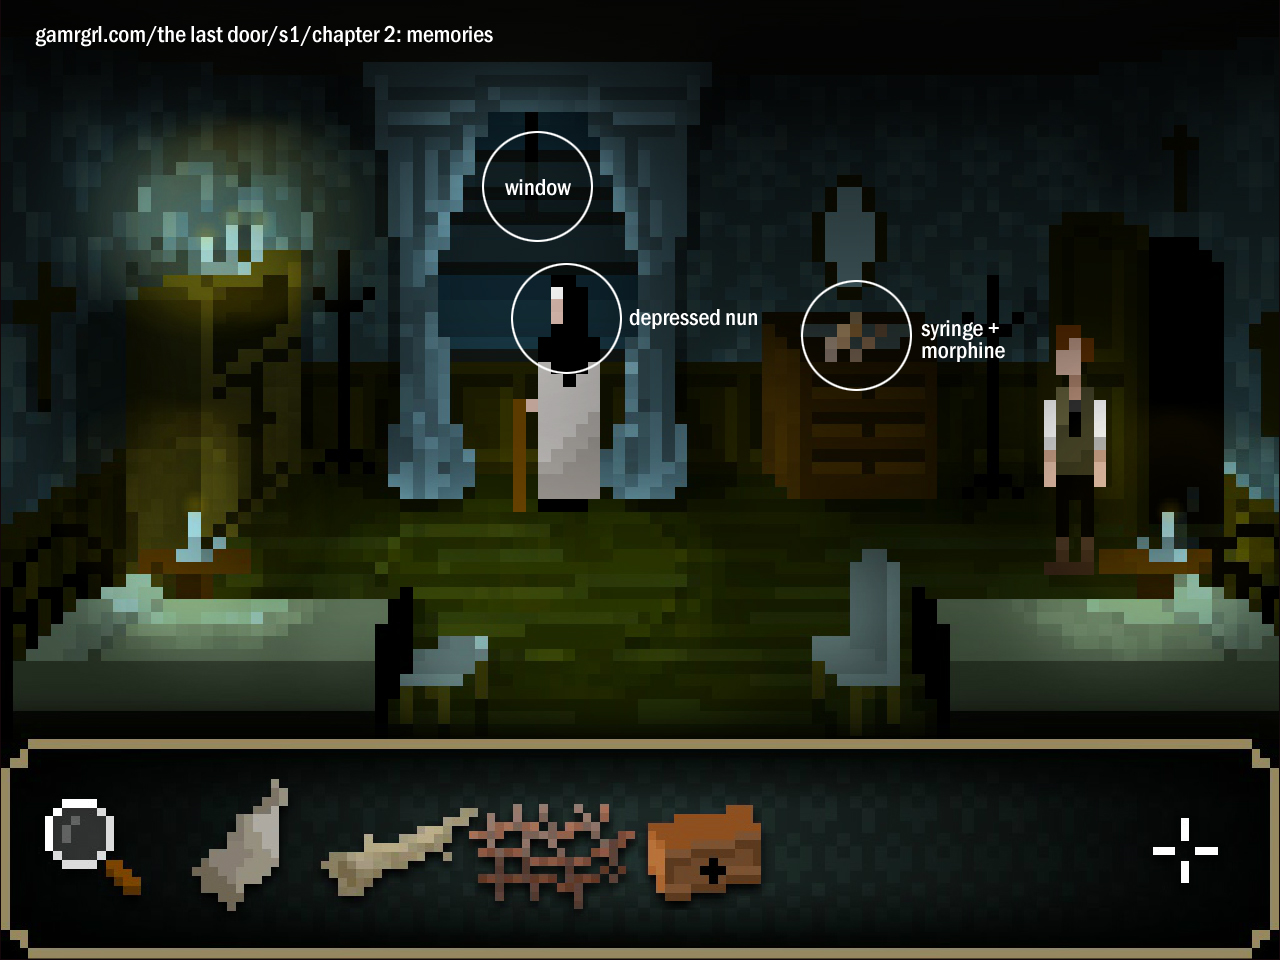
NOTE the syringe with morphine.
TALK to the depressed nun. She needs a sign from God.
INVENTORY: Use the lucky coin with the music box.
CLICK the window to look outside. | Screenshot
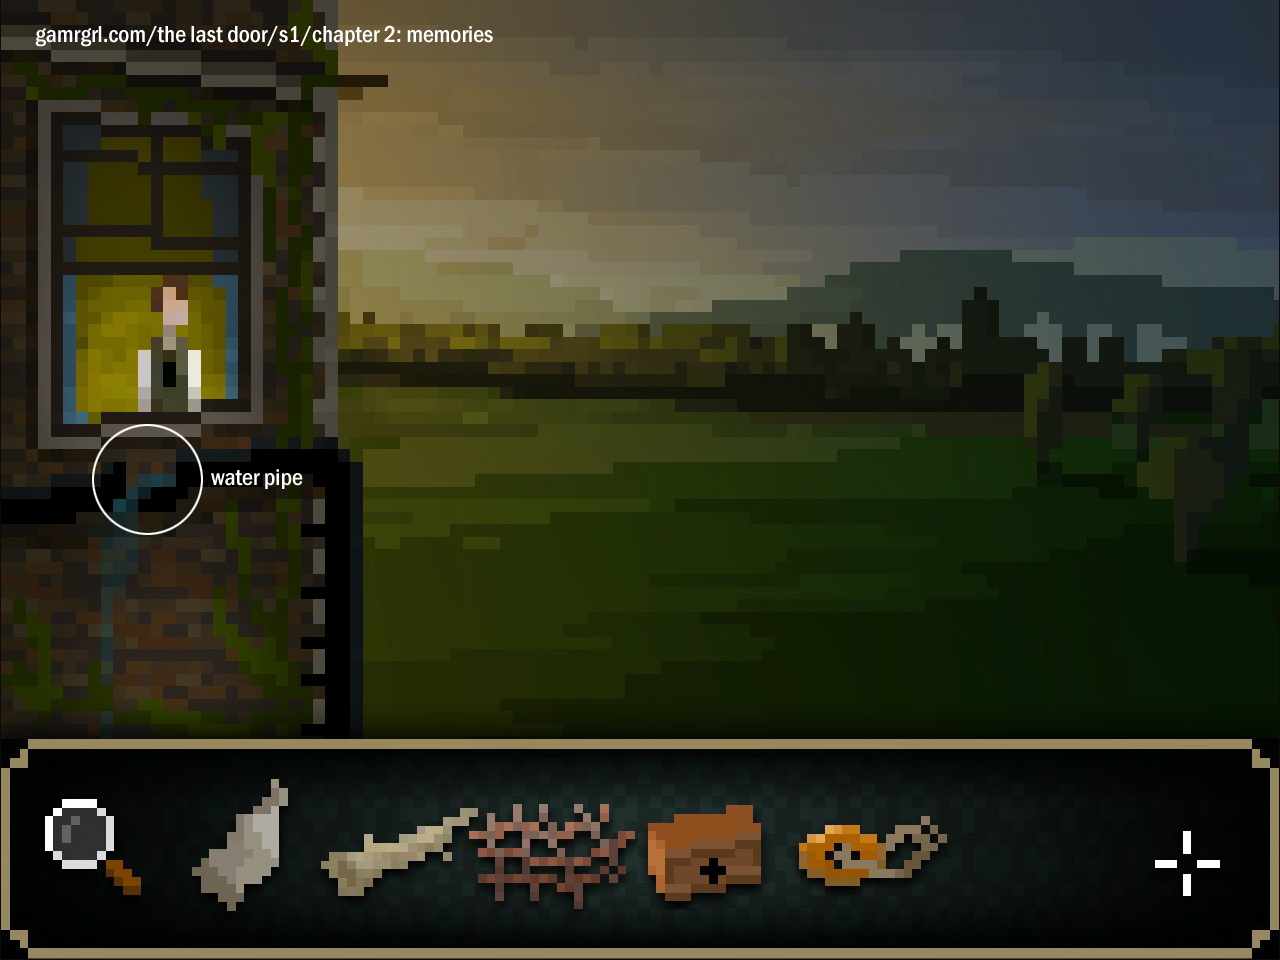
LOOK at the water pipe below the window.
REMOVE the dry leaves from the pipe.
INVENTORY: Use the stone angel to blunt the edges of the pipe.
INVENTORY: Use the net with the pipe.
EXIT to the hallway. RETURN to the showers.
SHOWERS
OPEN the tap of the shower.
EXIT the showers. RETURN to the nuns' room.
THE NUNS' ROOM
CLICK the window to look outside.
TAKE the shiny object from the net.
A glass teardrop is added to the inventory.
EXIT to the hallway. RETURN to the infirmary.
INFIRMARY
WALK right to the statue of the Virgin Mary.
INVENTORY: Use the glass teardrop with the statue.
INVENTORY: Use the broken piece of mirror with the statue.
TALK to the patient.
CONVERSATION: I guess I could find the courage to help you.
Devitt needs to get him some morphine.
EXIT the infirmary. RETURN to the nuns' room.
THE NUNS' ROOM
TAKE the syringe with the morphine.
EXIT the room. RETURN to the infirmary.
INFIRMARY
WALK to the sick patient.
Uh-oh.
READ the note on the bed.
EXIT by the north door to the cemetery.
THE CEMETERY
Devitt needs to open the coffin.
WALK left to the beach.
THE BEACH
NOTE the nun's habit and walking stick on the beach.
RETURN to the front of the school.
FRONT LAWN
Devitt needs to distract Baldwin and search his toolbox.
TALK to Baldwin about all the topics.
When Baldwin is talking about Aberdeen, TAKE the nail tool from the toolbox.
WALK left to the cemetery.
THE CEMETERY
INVENTORY: Use the nail tool with the coffin.
Mother Elizabeth comes to tend to the patient.
RETURN to the foyer.
FOYER
READ the papers on Mother Elizabeth's desk.
TAKE the ornate key from the desk.
INVENTORY: Use the key with the door at right. ENTER.
MONSIGNOR'S HALLWAY: FLASHBACK | Screenshot
TALK to the three boys.
OPEN the door at extreme left. ENTER.
MONSIGNOR'S ROOM: FLASHBACK | Screenshot
CLICK through the conversation.
Flashback cuts automatically to the present day.
MONSIGNOR'S HALLWAY: PRESENT DAY | Screenshot
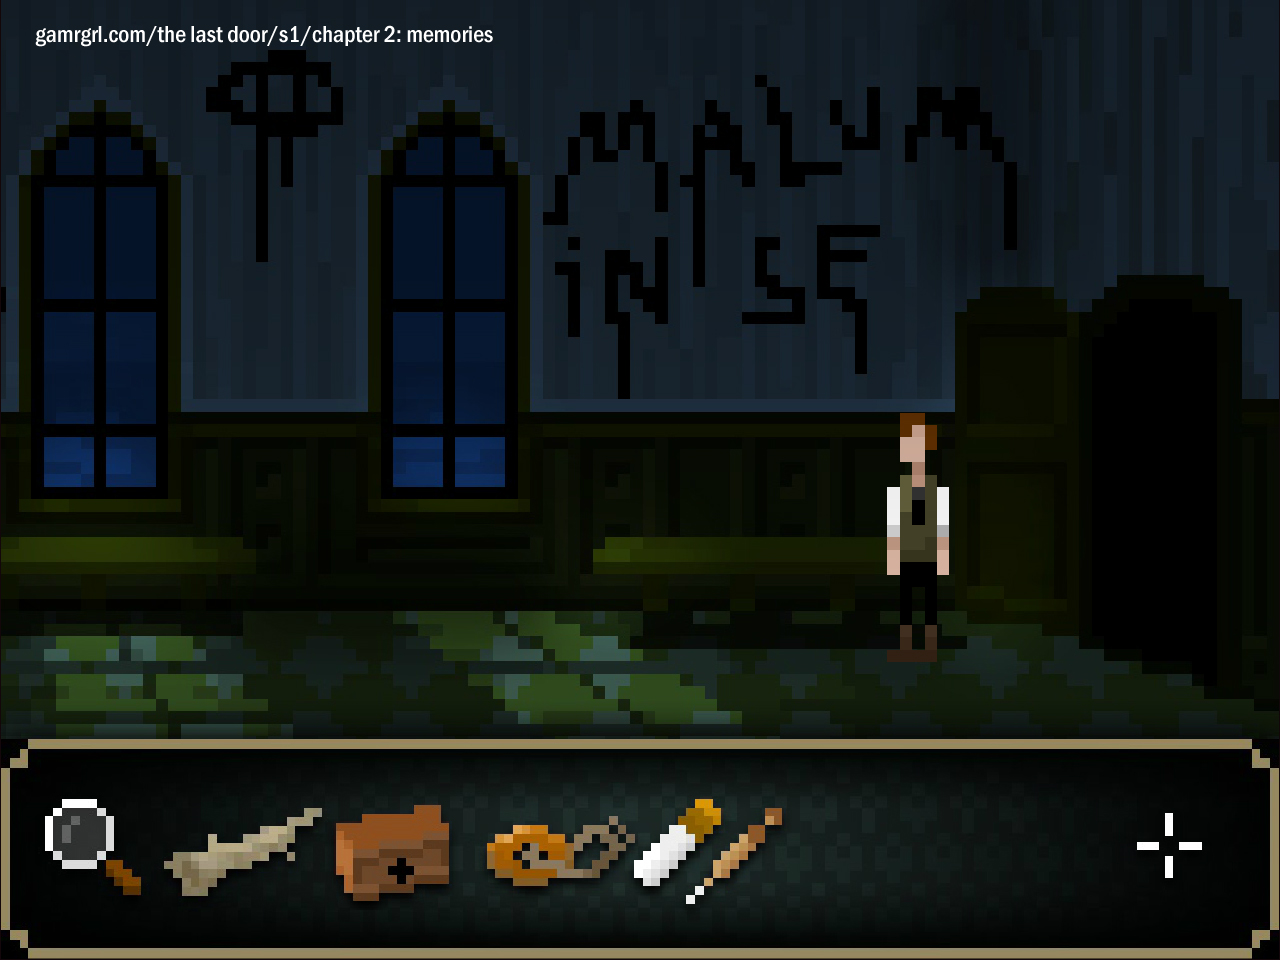
NOTE the graffiti: "Malum in se" (Evil in itself); the "Eye of the Bird".
OPEN the door at extreme left. ENTER.
MONSIGNOR'S ROOM: PRESENT DAY | Screenshot
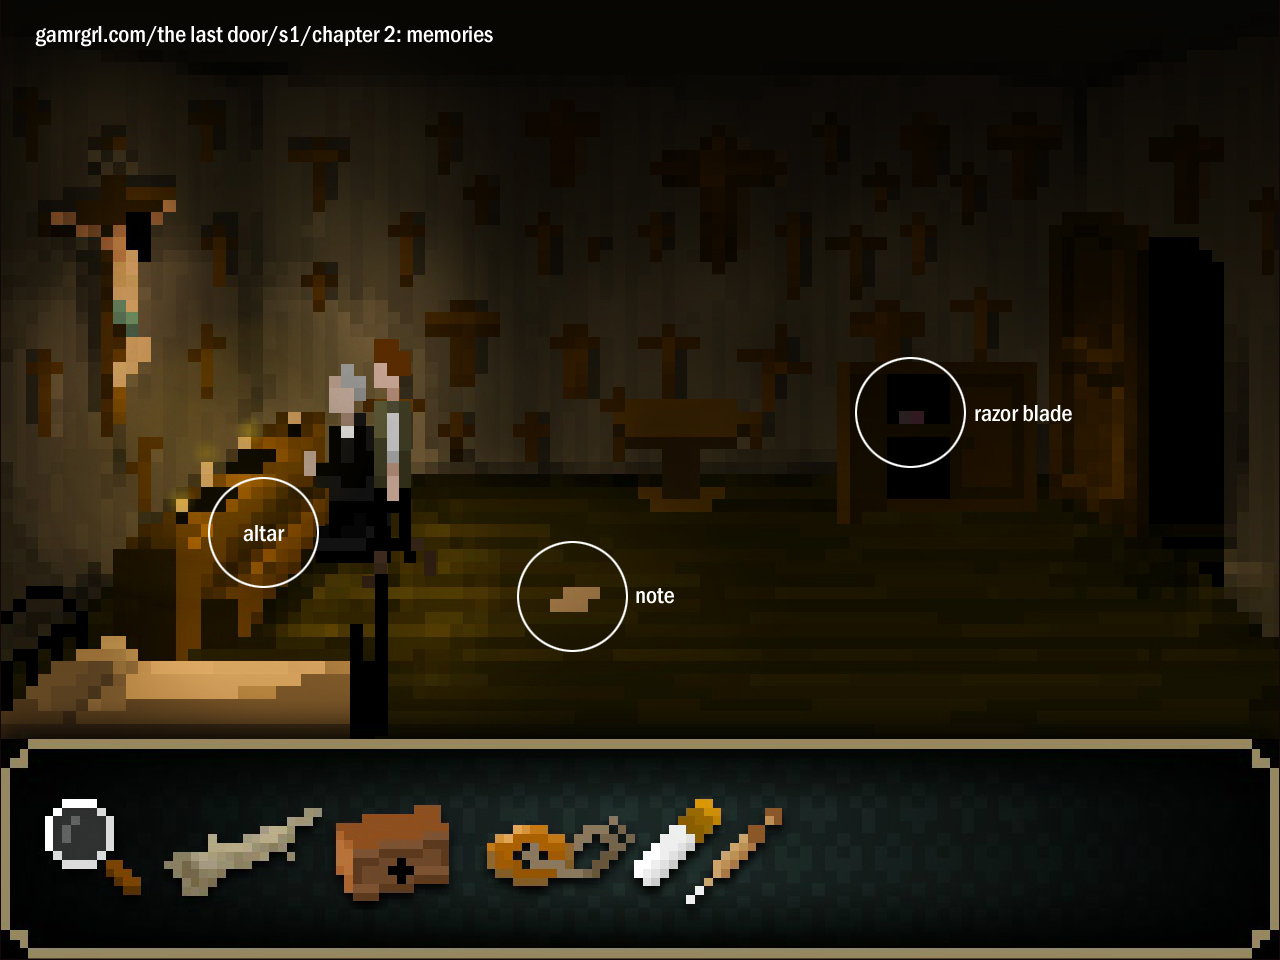
TALK to Fr. Ernest.
CLICK the altar to pray with him.
TALK to Fr. Ernest.
CONVERSATION:
1. Lord's voice: The sharp sword.
2. Lord's holy path: The endless blame.
3. Who you are: The lost seaman.
EXIT the room automatically. RE-ENTER the room.
Fr. Ernest cannot see but can hear. Move carefully.
If you're expelled from the room, re-enter and retry.
READ the note on the floor.
TAKE the bloodstained razor blade from the cabinet.
EXIT the room. RETURN to the upper hallway.
HALLWAY
INVENTORY: Use the razor blade with the log stump.
INVENTORY: Use the cutting tool with the long tapestry.
ENTER the room.
BOYS' DORMITORY: FLASHBACK | Screenshot
CLICK through the sequence.
BOYS' DORMITORY: PRESENT DAY | Screenshot
WALK right all the way to Devitt's bunk-bed.
CLICK the lower bunk to take a nap.
DREAM SEQUENCE: BOYS' DORMITORY
READ the note on the floor.
WALK left.
READ the second note on the floor.
EXIT to the hallway.
DREAM SEQUENCE: HALLWAY | Screenshot
WALK left, reading all three notes on the way.
GO DOWN the staircase.
DREAM SEQUENCE: FOYER | Screenshot
READ the note.
EXIT left to the infirmary (then just a hall).
DREAM SEQUENCE: INFIRMARY / HALL | Screenshot
WALK right, reading all four notes on the way.
EXIT via the door at extreme right.
DREAM SEQUENCE: CLASSROOM / STRANGE HALL
READ the note.
Whoa!
WALK left to the trap door. ENTER.
WATCH the movie.
Devitt wakes up in the boys' dormitory.
BOYS' DORMITORY
EXIT the dorm. GO downstairs to the classroom.
CLASSROOM
WALK left to the blackboard.
REMOVE the red carpet below the blackboard.
OPEN the trapdoor. ENTER.
BASEMENT | Screenshot
INVENTORY: Use the morphine with the patient.
WALK right to the doorway. ENTER.
SECRET ROOM: FLASHBACK | Screenshot
CLICK through the sequence.
SECRET ROOM: PRESENT DAY | Screenshot
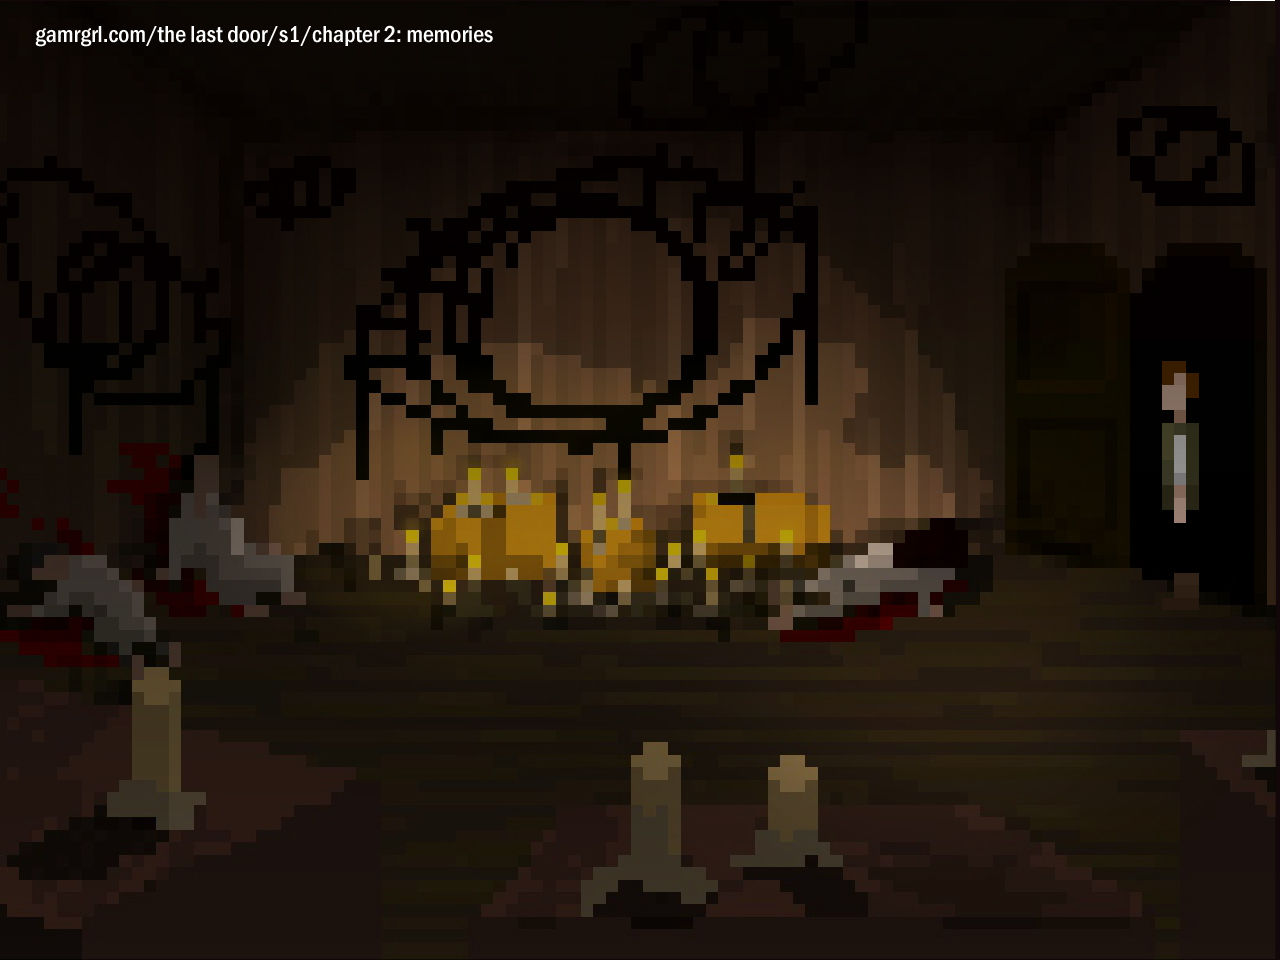
CLICK through the sequence.
WATCH THE FINALE.
THE END OF CHAPTER 2: MEMORIES.
This is an original walkthrough written by me. Please do not distribute the text and images without my written consent.